Part 3 and final in the how to make a body cap pinhole series.
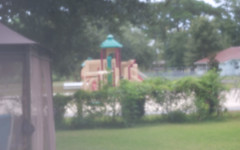
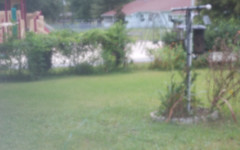
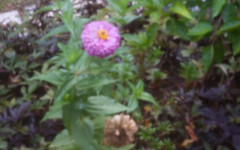
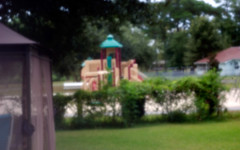
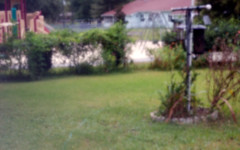
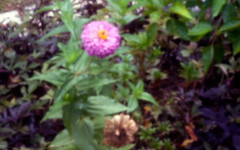
Here are some sample photos taken with the pinhole lens built in this series. I think I made the hole too large as the images are not as sharp as the last pinhole I made.
The first 3 versions are straight out of camera (OOC) with only crop/sizing performed in post processing.
These are 2 second exposures taken on a light overcast day with sprinkles of rain falling from the sky.
These next 3 images have had an Auto Color adjustment to improve the contrast of the images.
Here is the exposure table for f 152 (0.3mm hole at 45mm from film plane).
F22 F152
1/1000 1/30
1/500 1/15
1/250 1/4
1/125 1/2
1/60 1 s
1/30 2 s
1/15 3 s
1/8 6 s
1/4 12 s
1/2 24 s
1 s 48 s
2 s 2 m
4 s 3 m
8 s 6 m
15 s 12 m
30 s 24 m
1 m 48 m
2 m 2 h
At these apertures you will need to use a tripod or place the camera on a firm surface so the camera won't move during exposures.
Make several lenses of different pinhole sizes and different body cap hole sizes (for vignette effects).
Make a large(er) pinhole size to let in more light so you can frame the scene. But that goes against the nature of pinhole images. Practice framing by using looking over the top and by the sides of the camera body instead.
Other than that go out and have fun using your digital pinhole.
If you decide to make a pinhole lens for your K10D (or other cameras too) leave a link to your images in the comments so we can see them.

2 comments:
I love the information on the pin hole cap.. although I do not posses anything but a small digital camera and a flip video, I do enjoy seeing and reading all about what others are doing and have done to take such beautiful pictures.. keep up the great work and continue to post it all.
Ninja
Thanks! :)
Post a Comment