
If you've been following the Digital Pinhole stuff, here is part 2 in the series on how to make a body cap pinhole lens.
After the silicone adhesive dries carefully remove the tape.
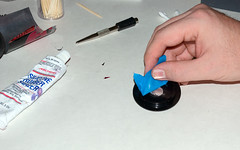
Using the paper scissors cut a very small piece of tape to mask over the pinhole.
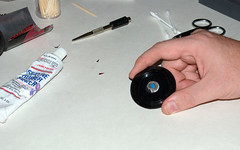
Mask the body cap so when it is painter only the aluminum disk is showing.
Alternatively you could use the sharpie marker to paint the whole disk and masking in that case would not be required. However painting with a flat paint works better.
Outside or with adequate ventilation paint over the aluminum disk with flat black paint so it is black.
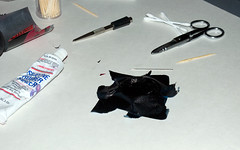
Once the paint is dry remove the tiny piece of tape covering the pinhole.
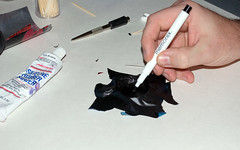
Using a large sharpie marker (the only marker I had I DO NOT recommend) dot the unpainted area around the pinhole.
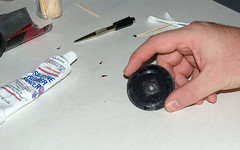
After coloring around the pinhole with the sharpie marker it's time to remove all the masking tape. Your pen painting should be darker than mine as the marker I used was not very dark.
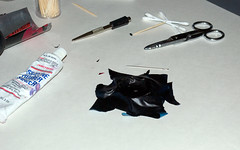
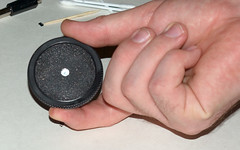
Here is the finished lens. From here if the hole is too small (a lot of refraction - take a photo of something bright white in full sun and look at the edges) you can carefully use the needle on both sides of the lens to round out the hole larger.
Do this in small incremental steps so you don't oversize the hole. Once the hole is too large there is no way to make it smaller.
However making a new aluminum disk is easy. Just replace the disk with a new one following steps 4-14.
In the next post we'll test out the lens and see how well we did.

No comments:
Post a Comment