
I did all the experiments and adjustments earlier and took photos of the procedure.
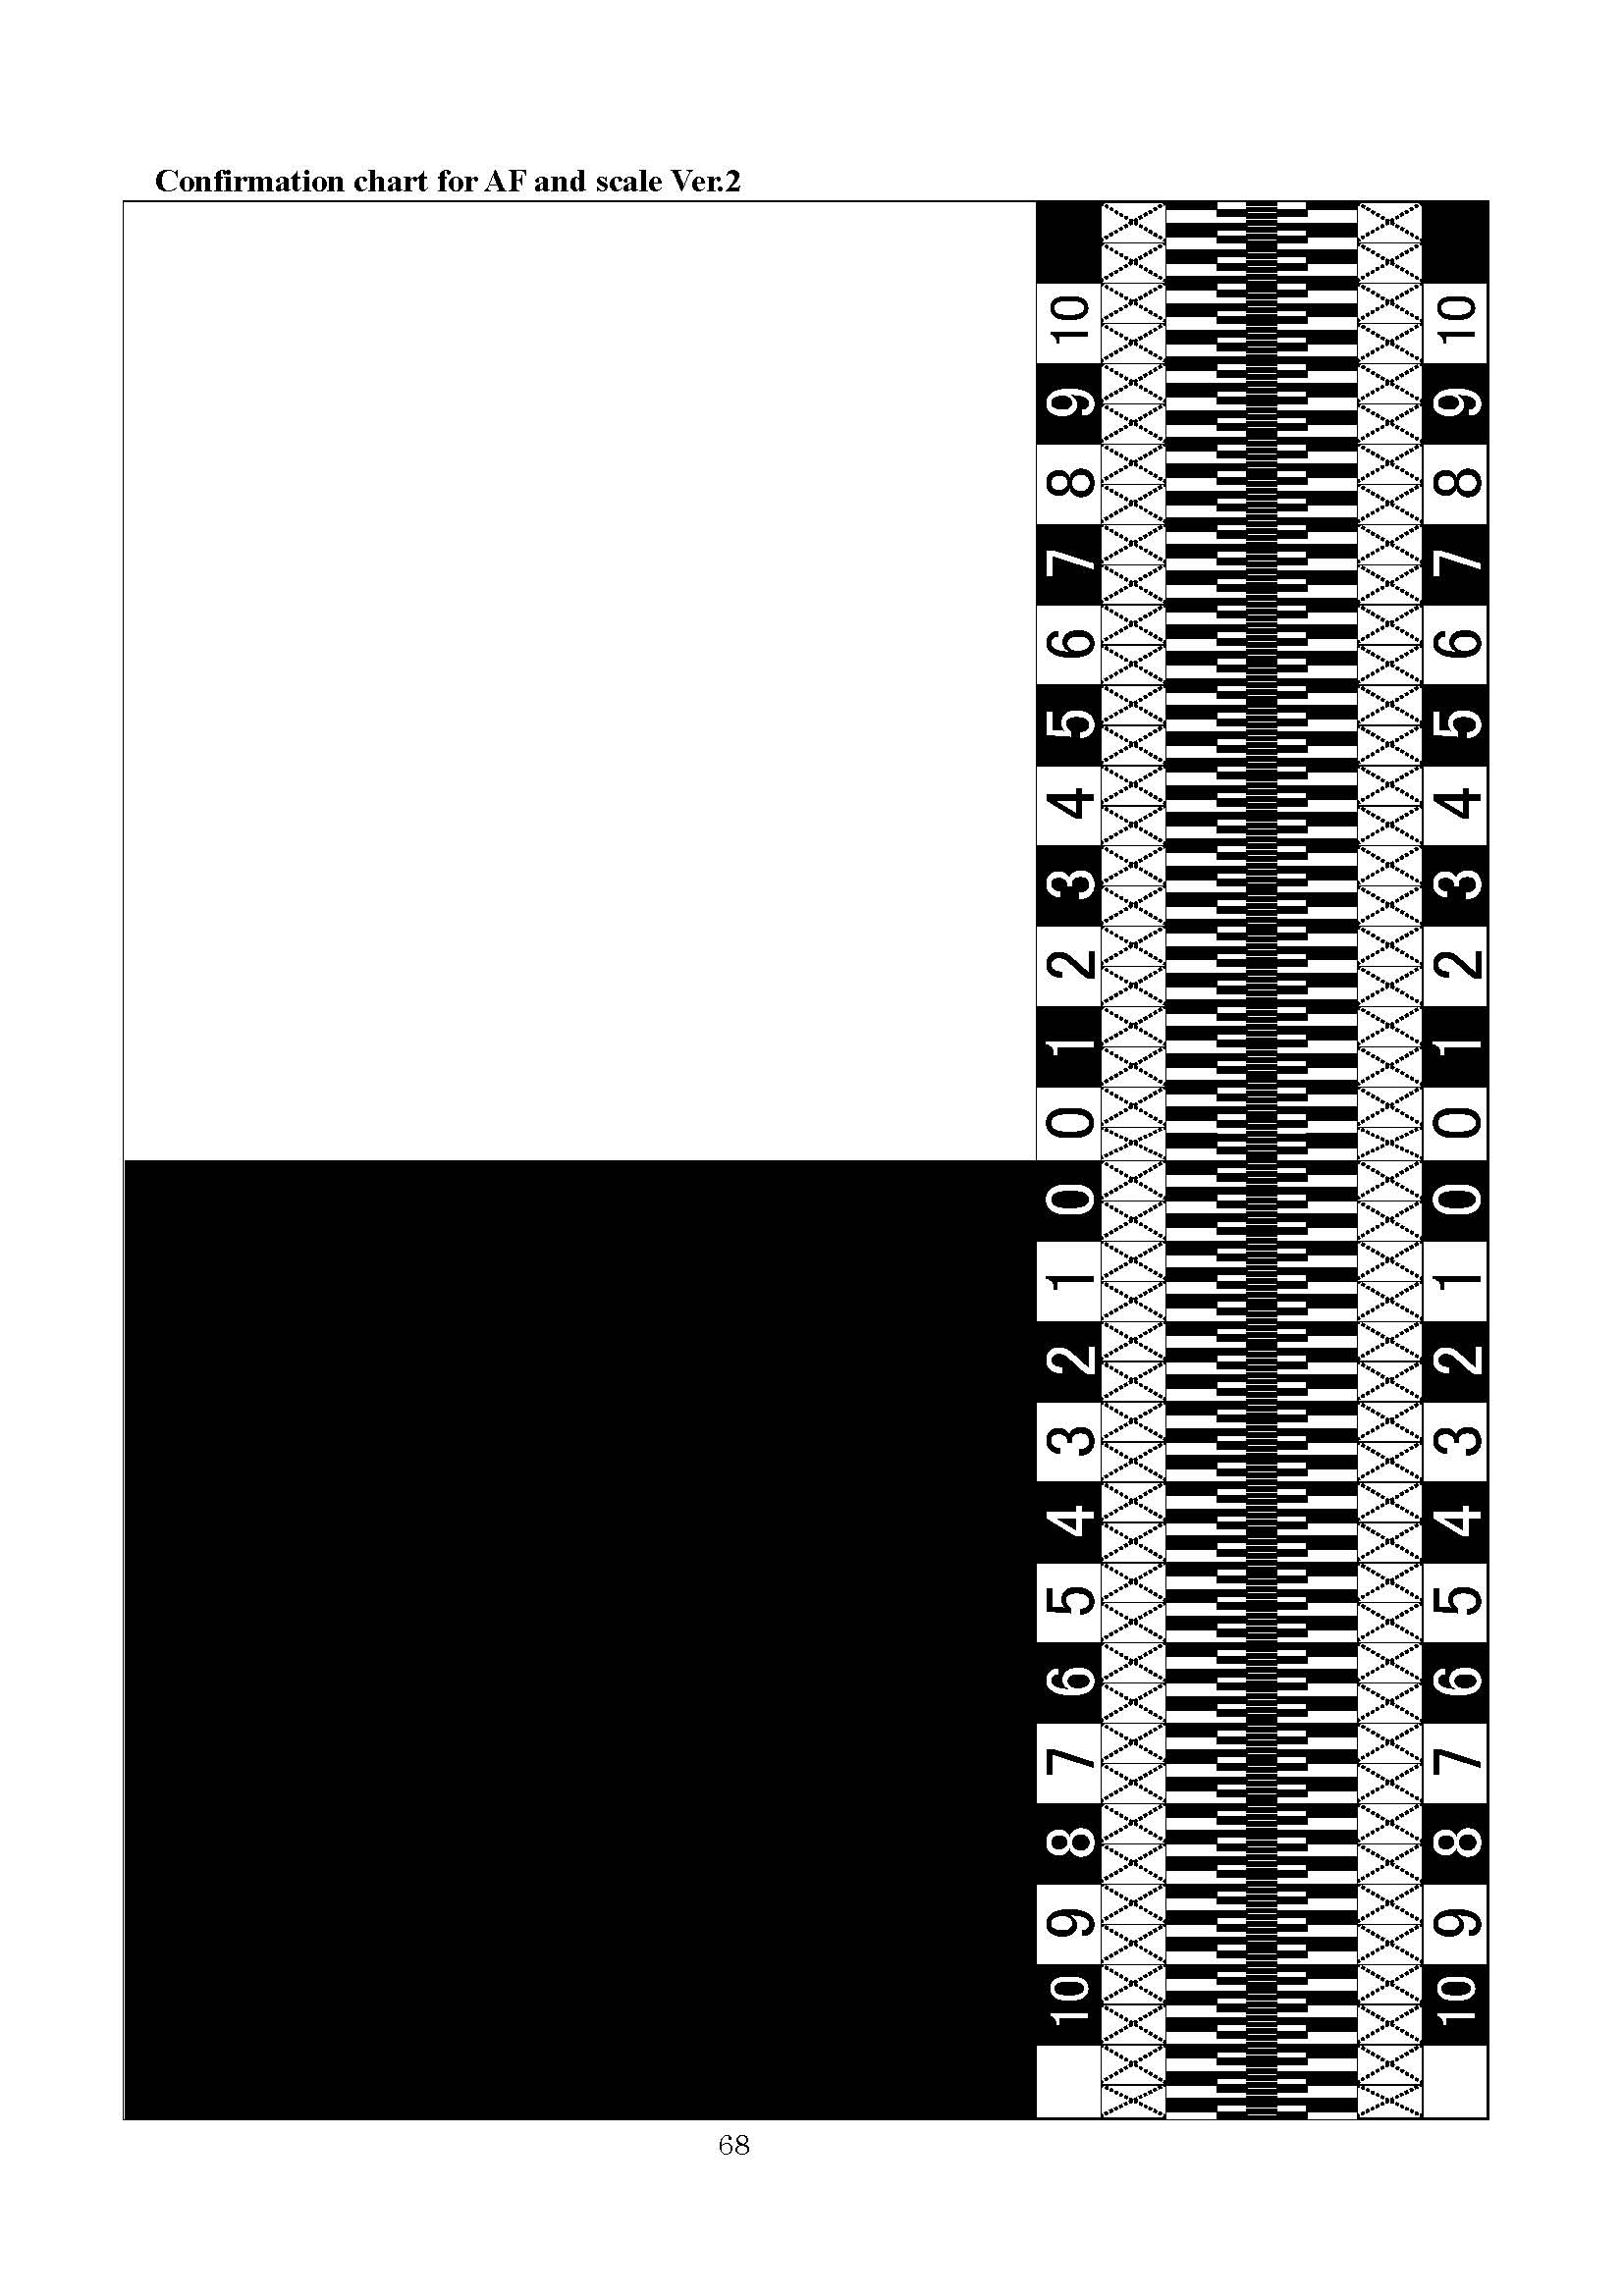
(edit 18 Ssep 2010 - Pentax Focus Chart)
INGREDIENTS
- Tripod
- Low Flat surface (the floor is fine if U have a good back)
- Focus chart (you can find one here)
- The lens you want to test and or correct for
-Writing paper
- Pen or Pencil
- Spectral Flux Capacitor (optional, but I had one lying around)
Pre set up
Put the camera on the tripod and set the angle to 45 degrees looking down. If you don't have a way to measure 45 degrees, remember your geometry. Any square object has a 45 degree line if you draw one from one corner to the opposite corner. Fold a piece of paper so when folded from a corner the top aligns flush with the side. The fold created will be 45 degrees.
[edit 11 Apr 09: 45 degrees is not a magic number. You can use any angle. The angle changes how far in front of and behind the focus point the image appears out of focus. If the DoF is too small it may make it hard to count how far the lens is out of focus. You can change the viewing angle so the chart is closer to perpendicular (like a wall) so there are more numbers to count within the DoF. If the DoF is too large then the edge of focus may be beyond the scale of the chart. In this case adjust the viewing angle so it is closer to parallel (like the ground) and the numbers at the extreme ends of the chart will be more out of focus. For the most part though 45 degrees will work. I just wanted to point out that the angle used does not need to be exact and will have no bearing on the outcome other than changing the count of the numbers within the DoF.]
Don't fold your focus chart.
Put the focus chart on a flat surface.
The camera to focus chart distance will depend on the minimum focus distance of the lens you are testing. You will have to adjust the tripod height and/or place the chart at varying heights in order to be able to focus at the min focus distance. You will want to use the minimum distance as the depth of field is narrowest at that point and will show focus error better. Also use the widest aperture as this also narrows the depth of field. Leave a little room so the camera can focus a little in either direction of the correct focus so it can have the opportunity to create the focus error.
Never re-adjust the 45 degree angle during the test. Wrap something around the handle to remind you when you grab it. Use barbed wire if you have to, or jelly if your not into SM. If you are, then don't use barbed wire or you'll never complete the test.
Either move the tripod or the focus chart around in order to set the focus point on the mark. If you are testing a lens with a large focus distance then it will take some trial and error.
Tape the chart in place if it's prone to being moved accidentally.
Keep kids, dogs, cats, farm animals out of the testing area. This is a laboratory now and should be treated as one.

1. Go into the AF Test Menu from the debug menu. It's at the bottom of the Setup Menu if the camera is in debug mode. If your camera is not in debug mode read this.
About the AF Test Areas. I'm not sure what area 0 really does, but I think nothing. Area 1 uses both a horizontal and a vertical focus pattern. So it does not matter what way the camera is rotated it will focus on the focus chart. Area 2 uses a Horizontal focus pattern. Area 3 uses a vertical focus pattern and you will have to rotate the camera 90 degrees in order for it to focus on the lines.
Note: If you adjust the value (say to +40) and hit OK, then the next time you adjust the value it will start counting at zero from that +40 point. So lets say we're going to go back to 0, it will read -40 when at the mark instead of 0. Also the increment steps are in 10.
2. Start with Focus Area 1. You select the focus areas with the left-right arrows on the 4-way controller.
To move between the focus area option and the adjustment amount use the up-down arrows on the 4-way controller.
4. Leave the focus adjustment at 0.
5. Press OK.
6. Manually defocus the lens.
7. Half press the shutter button a few times until the camera no longer tries to focus when you press the button. You should be focusing on the end of the text (the 'us') that reads "This text should be perfectly in focus".
8. Take a picture.
9. Go back in to the focus adjustment menu and select +40.
10. Manually defocus the lens again.
11. Half press the shutter several times until the camera doesn't try to focus anymore.
12. Take a picture.
13. Repeat steps 9-12 for a -40 adjustment. Remember you're going back -80 points to get to -40 from +40. Don't stop when it reads -40 or you will be back at 0 again.
14. Now load those 3 images into your photo editing software and view them at a magnification that you can clearly see the depth of field and where the front and rear out of focus areas.
From the images you can figure out which direction you need to correct, if any at all.
15. Repeat the focus correction procedure moving the focus point in the direction that continues to improve the focus until you have obtained the best focus.

+40um correction
I went into the AF Test menu and for all test areas, 1, 2, and 3, I set the focus to +40, 0, and -40 um. I did not see any difference in the outcome. So pick 1 or 3 and use the focus chart in vertical (as intended) direction and the camera in landscape.
I focused on the end of the text that reads "This line should be in perfect focus."

0um correction

-40um correction

So I choose -50um as my correction and it seems bang on.
I should note that I tried math to figure out the correction value. I found 2 areas (one front and one back) that were equally out of focus. I subtracted the smaller value from the larger value and divided by 2 to get my correction value. However I had no way to equate my calculated value to the correction value in the camera. I though 10um meant 10 micro millimeters so when I calculated I had 6mm of front focus error I'm pretty close to my -50um correction value that I used. The problem with this method is with out more advanced scientific test equipment it's hard to get the exact numbers. I mean, we're using the human eye. Yes the eye is a great piece of test equipment, but the perception lacks. Just ask 10 different people to figure out your focus correction value and you'll get a dozen different answers.
I tried to use the spectral flux capacitor to help calculate the focus correction, but I think it needs an alignment itself. I never got a manual with it when I bought it off E-Bay, that's why the price was so good. Maybe some day when I want to kill some more cats I'll take it apart and fix it too.
Until then, enjoy your camera and stay away from all this extreme weather we're having.
Next we're going to prepare for session in the Pentax Wireless P-TTL flash system.


